
Scheduling emails in Gmail lets you send messages at the best time for recipients, increasing the chances they'll read them. Use this feature to align with business hours or plan your communications in advance. Here's how to schedule emails in Gmail effectively.
Step 1: Compose Your Email
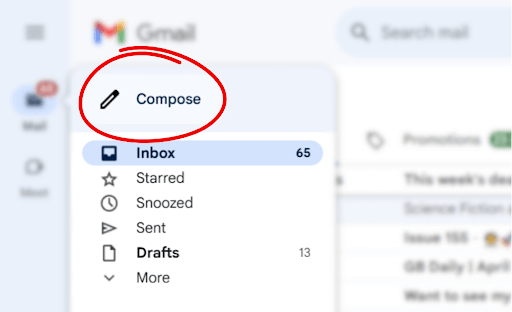
Open Gmail and click Compose.
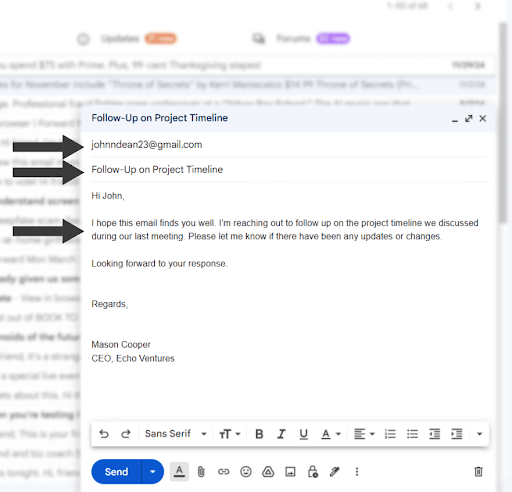
Fill in the recipient, subject, and message body.
Step 2: Schedule Your Email
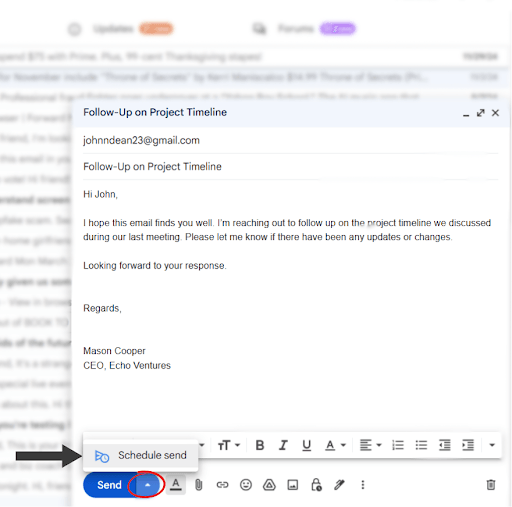
Click the arrow beside Send.
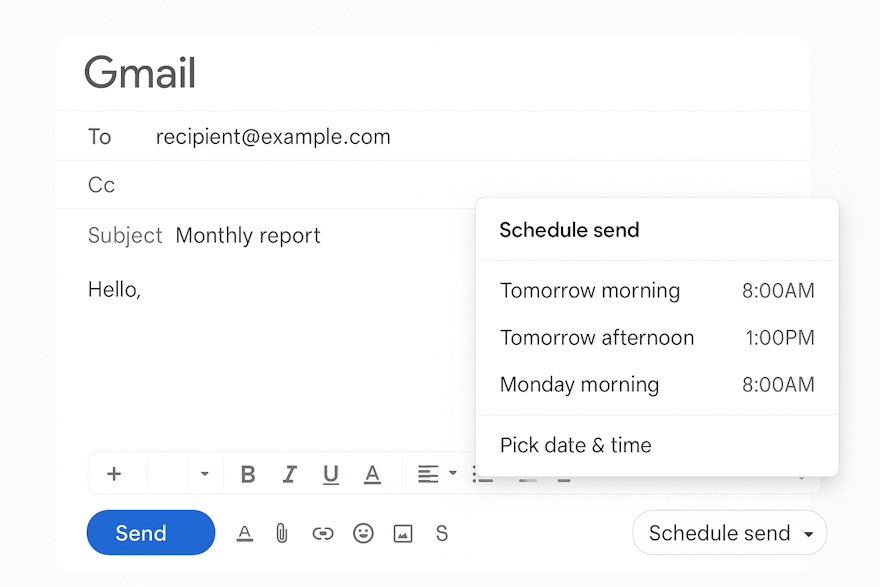
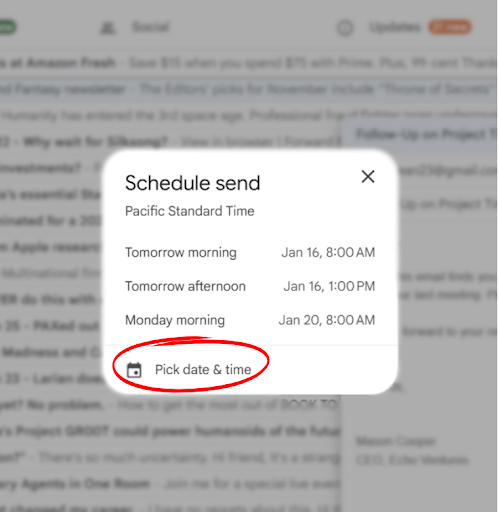
Select Schedule send.
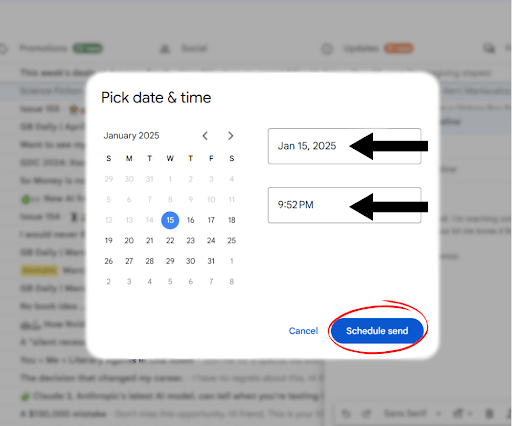
Choose a suggested time or click Pick date & time for a custom schedule.
Confirm by clicking Schedule send.
Managing Scheduled Emails
You can view and manage your scheduled emails easily:
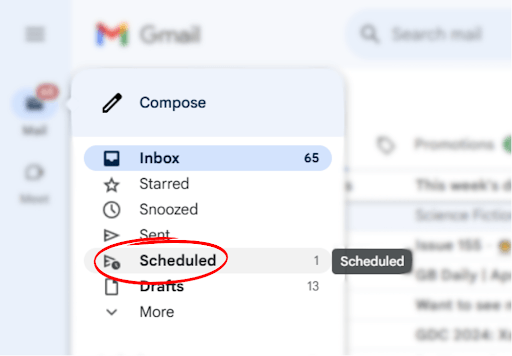
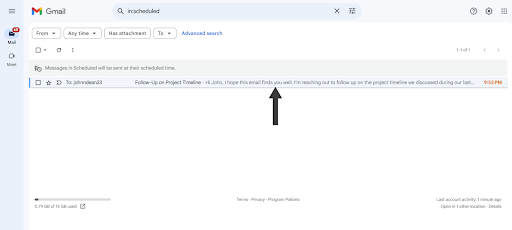
Go to Scheduled in the left-hand menu.
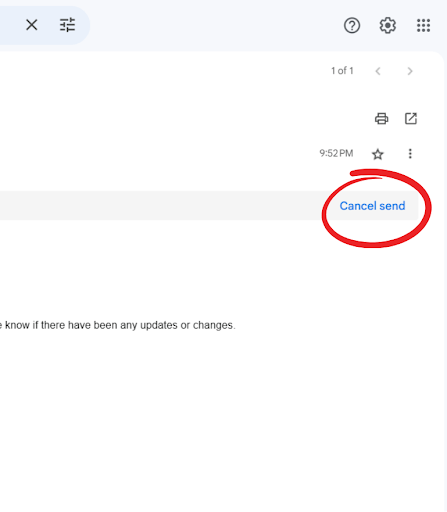
To edit or cancel, open the email and click Cancel send.
Tips for Scheduling Emails
Business Hours: Schedule emails to arrive during business hours for higher chances of being read promptly.
Time Zones: Consider the recipient's time zone to ensure your email arrives at an appropriate time.
Plan Ahead: Use scheduling to manage your workflow and ensure important emails are sent even when you're not available.
Scheduling emails in Gmail is a simple yet powerful feature that helps you manage your communication more effectively. Happy scheduling!
For full instructions, please visit the official Google Workspace guide: Email-Scheduling.